











How to Decontaminate a Car Before Polishing — And Why This Is Where Detailing Actually Starts
11 min read
- What Is Paint Decontamination — And Why Is It More Than Just a Wash?
- Why Did We Cut Decontamination Time From 4 Hours to Under 2?
- What Can Go Wrong If You Use Chemicals Incorrectly?
- What Is the Most Efficient Order for Car Decontamination?
- Why Contactless Tar Removal Changes Everything
- Why a Second Prewash Is Not a Waste of Time
- Why Doing Wheels First Is Not Always the Right Call
- Is the Two Bucket Method Actually What Makes a Wash Safe?
- What Is Iron Fallout and Why Is It on the Paint — Not Just the Wheels?
- How Do You Use Fallout Remover Properly?
- What Is a Clay Bar Actually For — And When Should You Not Use It?
- What Does the Colour of the Clay Bar Tell You?
Most people think detailing starts when the machine comes out. It doesn’t. Everything that happens before polishing determines how well the polishing works — and whether the paint is being corrected on a properly clean surface or dragged over contamination that was never removed.
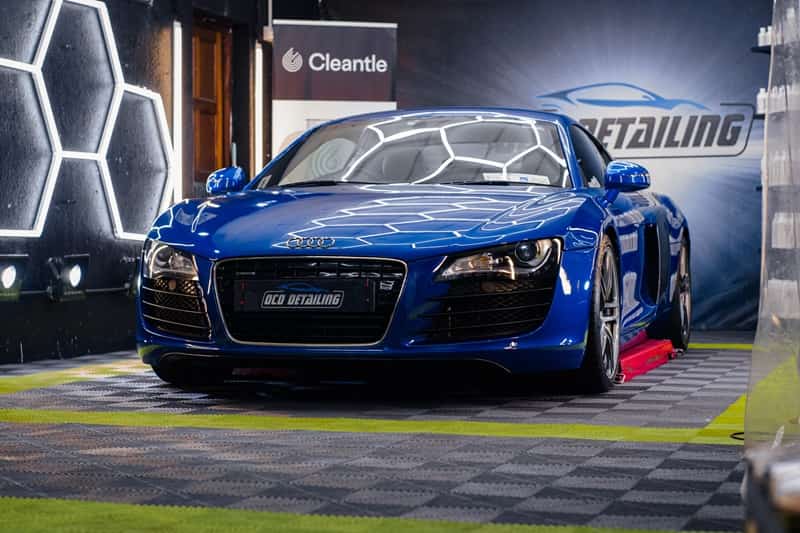
Decontamination is that stage. Your customers won’t see it, they won’t ask about it, and they probably won’t understand what it involved. But skip it or do it badly and everything that follows is compromised.
What Is Paint Decontamination — And Why Is It More Than Just a Wash? #
Decontamination is a proper clean of the paint before polishing. Not a regular wash — but the systematic removal of everything that a normal wash cannot deal with. Tar, iron fallout, industrial contamination, tree sap, overspray. Some of it gets removed chemically, the rest mechanically. The goal is simple: make sure the surface is genuinely clean before a machine ever touches it.
If you go straight from a regular wash into polishing, you’re not working on clean paint. You’re polishing contamination into the surface.
Why Did We Cut Decontamination Time From 4 Hours to Under 2? #
In the early days, a full decontamination could take up to four hours. At the time that felt normal — like the job simply required that much time.
It didn’t. Looking back, it was poor planning, not enough understanding of how the chemicals worked, and no clear system. Today the same job takes between one and a half to two hours. Same quality, same result — just done efficiently – no time wasted.
What Can Go Wrong If You Use Chemicals Incorrectly? #
Some decontamination chemicals — especially tar removers and wheel cleaners — can cause damage if used in the wrong conditions. The mistakes that cause most problems are straightforward: applying products to hot surfaces, working in direct sunlight where products dry before they can be rinsed, leaving chemicals on too long, or using the wrong dilution.
Before you start, the surface needs to be cool. Direct sunlight is a problem — work in shade. Never let a product dry on the paint. Always read the label on anything new, and make sure the product is safe for the surface you’re using it on. These aren’t complicated rules, but they’re the ones that get ignored most often.
What Is the Most Efficient Order for Car Decontamination? #
Most people prep a car in this order: wheels first, prewash, contact wash, dry, tar removal, fallout removal, clay bar. If you follow this sequence and don’t skip anything, the car will be properly prepped. That’s roughly how we did it in the beginning. It works — but it’s not efficient.
The order we use now:
Contactless tar removal combined with first prewash → second prewash with snow foam → contact wash → fallout removal → clay bar → wheels cleaned when practical, depending on condition.
The difference isn’t just about speed. Each step feeds into the next, and doing them in the right order means chemicals are working while you’re doing something else — rather than standing around waiting.
Why Contactless Tar Removal Changes Everything #
Starting with contactless tar removal is the biggest single change we made to the whole process. We use Vasco Prewash — it works slowly, but it’s safe on all exterior surfaces and removes tar without any mechanical contact. Compared to traditional solvent tar removers applied by hand, it saves around 30 minutes per car. Across a year of work, that adds up to something significant.
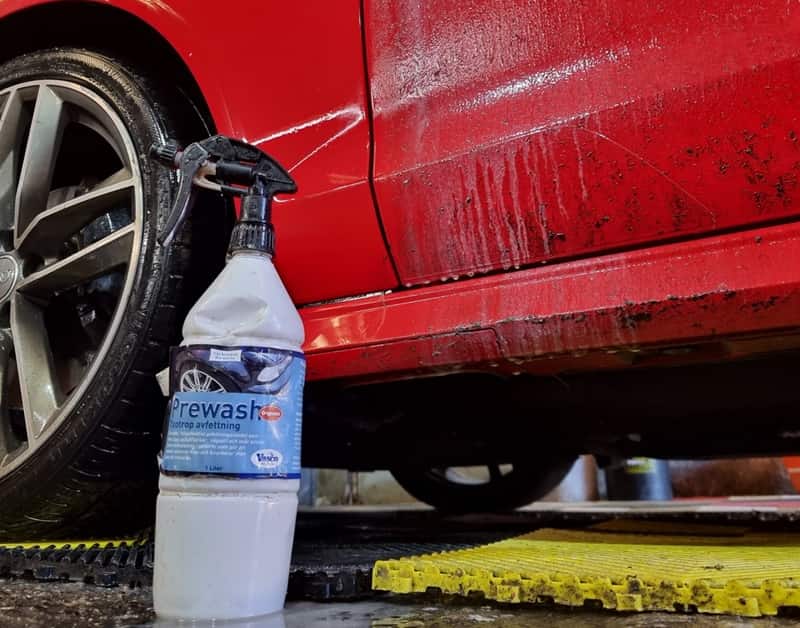
Vasco also softens road film very effectively. Within the first rinse, tar is typically gone from the paint, wheels and , the product needs minimum one hour of dwell time, which, with right planning you can use this time for soemthing different to make the process efficient. For example: start the interior.
How to use it: shake the bottle, spray the lower sections of the car — up to door handle height, front and rear bumper, wheels and inside the arches. Tar is rarely present on the upper sections so there’s usually no need to go higher. Leave it for a minimum of one hour. We normally spray cars in the evening and start work in the morning. If you’re starting in the morning, spray Vasco first, begin on the interior, and come back to rinse after an hour to an hour and a half.
Once the tar has dissolved — you can check the worst spots gently with a finger — rinse slowly from the bottom upwards, including the wheels. This gives you full control over the cleaned area and is the most effective approach with Vasco, since it loses activity after prolonged contact with water. Then give the whole car a final rinse from the top, paying attention to door seals, window frames and other tight areas. This step alone typically removes 90 to 95 percent of the dirt on an average car.
Why a Second Prewash Is Not a Waste of Time #
After the first rinse the car looks clean. Most people would say it’s ready for contact wash at this point. But consider this — on a rainy day, a dirty car can look visually clean when wet, especially on dark colours. The same thing happens here. The car is wet and looks clean, but it isn’t necessarily.
A second prewash with snow foam handles what the first stage didn’t reach — mainly the upper sections of the car where Vasco wasn’t applied.
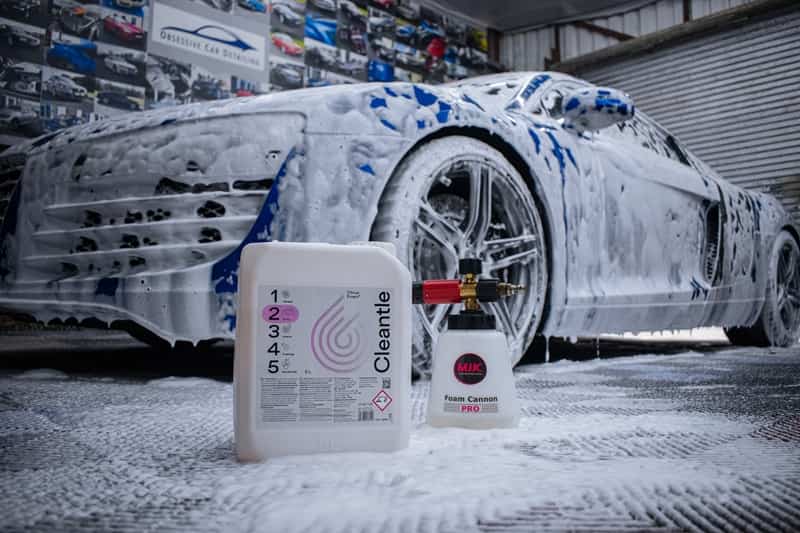
This is also the stage where we clean the wheels. Apply wheel cleaner to all four wheels and let it dwell. Then apply snow foam to the car — pH neutral for cleaner cars, higher alkalinity for heavily soiled ones. Now both products are working simultaneously. While they dwell, use a detailing brush to agitate hard-to-reach areas: window seals, grilles, badges, tight gaps. Once the wheel cleaner has done its job, agitate the wheels — the dirt is already softened so less effort is needed.
Don’t let the foam dry. If it starts to, reapply. After 7 to 10 minutes, rinse thoroughly from the top, including wheels and arches. Done correctly, the car should be very close to 100 percent clean before any contact has been made.
Why Doing Wheels First Is Not Always the Right Call #
The common advice is wheels first, always. In practice, cleaning wheels during the process — while other chemicals are dwelling on the car — is more efficient. You’re using time that would otherwise be wasted. Whether to do wheels first depends entirely on how dirty they are and what makes sense for that specific car on that specific day.
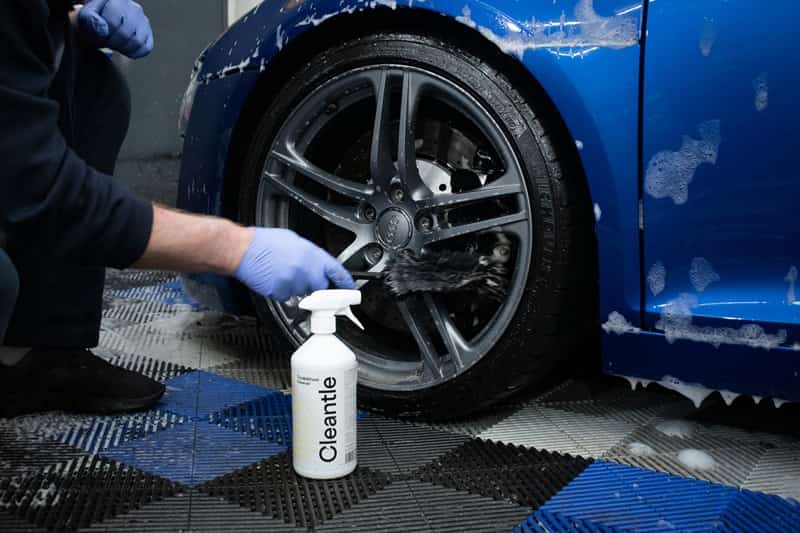
We never try to make wheels perfect in one pass. If they’re heavily contaminated, let the cleaner do most of the work, agitate lightly and rinse. If they’re not completely clean, that’s fine — there are more opportunities during the process without wasting additional time.
Is the Two Bucket Method Actually What Makes a Wash Safe? #
No. The two bucket method is a minor part of a safe wash, not the foundation of it.
A safe wash means using chemicals and a method that leave no traces — chemical or mechanical — on the paint while effectively removing dirt. Swirl marks are caused by rubbing dirt over the paint. If your prewash leaves dirt behind, two buckets are irrelevant — the damage is already happening with the first pass of the mitt.
Your wash mitt should stay visually clean throughout the contact wash. If it isn’t, the wash isn’t safe, regardless of how many buckets are being used.
The concept behind the two bucket method is simple. You need shampoo on the car and you need a way to rinse the mitt before picking up more shampoo — so you’re not transferring dirt back to the paint with every pass. That’s it.
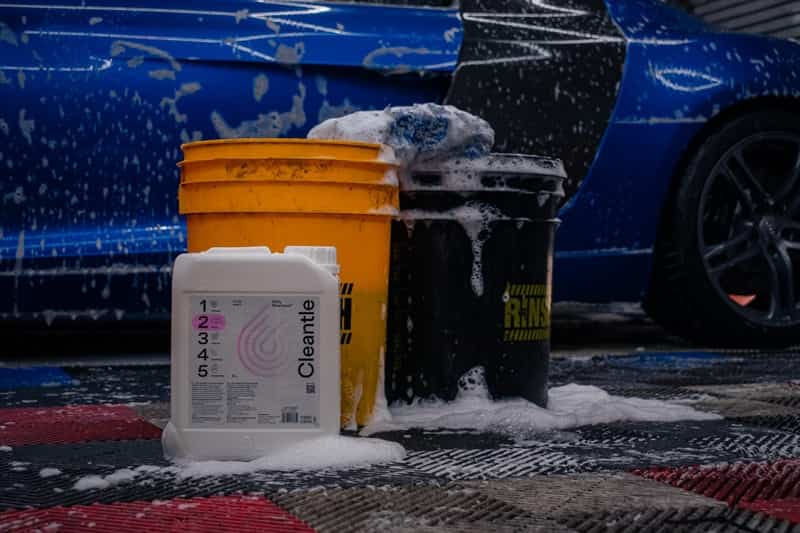
How the shampoo gets onto the car doesn’t change the concept. You can put it in a bucket, or you can apply it directly onto the car with a foam gun. Either way, the shampoo is on the surface. What matters is the rinse bucket — clean water, used to rinse the mitt after every one or two panels before it touches the car again.
Two mitts make sense — one for upper sections, one for lower areas like sills and under bumpers. Keep them assigned to their zones and don’t swap them.
What Is Iron Fallout and Why Is It on the Paint — Not Just the Wheels? #
Fallout is tiny particles of brake dust and other metal-based contamination that bond to surfaces during driving. Most people associate it with wheels because that’s where it’s most visible. But it’s on the whole car.
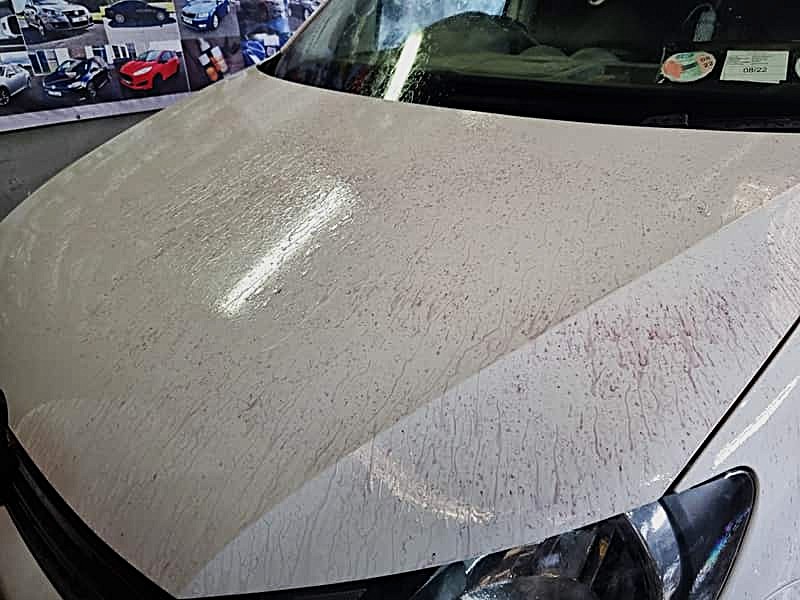
Every time you brake, a fine mist of hot brake dust is released into the air. Because it’s hot, it bonds easily with whatever surface it lands on. Lower panels and the rear of the car collect fallout from your own braking. The bonnet, roof and upper panels collect it from vehicles braking in front of you. On dark colours it’s almost invisible. On lighter colours you may see small orange or brownish spots.
Glass is usually unaffected — it’s too smooth for brake dust to bond under normal conditions.
How Do You Use Fallout Remover Properly? #
Spray fallout remover across the car. Most products need a minimum of ten minutes to work properly. A quick colour reaction doesn’t mean the job is done — it means the product has made contact. In cases of heavy contamination, allow 20 to 25 minutes. Don’t let it dry. If you notice it starting to, mist lightly with water from the pressure washer or reapply product.
This is a good time to finish any remaining wheel work — you have time while the product is active.
After the dwell time, rinse thoroughly. To check your work, apply a small amount of fallout remover to a rinsed area — if there’s no reaction, that section is clean. If it still reacts, give it more time.
What Is a Clay Bar Actually For — And When Should You Not Use It? #
Clay bar is often treated as a standard detailing step. It isn’t. A lot of people use it because they’ve seen it online, without understanding what it does or when it’s actually needed.
A properly executed decontamination — prewash, tar removal, contact wash, fallout removal — should handle the vast majority of contamination. Clay bar is for whatever is left after all of that. Tree sap, paint overspray, industrial fallout that didn’t respond to chemical removal. If the process was done correctly, there may be very little for the clay bar to do.
Because it’s a mechanical process, clay bar carries risk. If previous stages weren’t done properly and contamination is still on the surface, the clay can pick up that contamination and drag it across the paint, causing serious scratches. On a properly prepped car with a good clay lubricant, that risk is minimal — the clay glides smoothly, picks up what’s left, and leaves the surface clean and smooth.
Keep folding the clay as you work to expose a clean side. Don’t apply pressure — let it do the work. Clay works on paint, glass and wheels. It won’t work on textured plastics.
Fresh clay straight from the packaging is often too hard. Rather than trying to soften it by hand, put two pieces in warm water, let them soften, and alternate between them. Soft clay works better and is safer.
What Does the Colour of the Clay Bar Tell You? #
If the clay turns dark or black, especially on lower panels, tar removal wasn’t done properly. If it turns orange, fallout removal wasn’t completed. The clay is showing you exactly which stage of the process failed. It’s a useful check — but the better outcome is clay that stays relatively clean because everything before it was done correctly.
The Bottom Line
Decontamination is not a complicated process. But it requires a clear order, the right chemicals used correctly, and enough time for each stage to do its job. Every step removes something specific. Skip one, and you’re leaving contamination behind that will affect everything that comes after it — including the polishing.
The car can look clean and still not be clean. The goal of decontamination is to know, not just assume, that the surface is genuinely ready for the machine.
Have a question or something to add? Drop a comment below — whether it’s a question, your own experience, or something you’d do differently. We read everything.
.


Leave a Reply
You must be logged in to post a comment.

Leave a Reply #